


What They Didn’t Tell You: The Surprising Truths About Nipple Piercing

Nipple piercing has been ranked as a leading body modification that is done by both genders; but for women, who are planning to be moms (in the coming 1-2 years), it should be a significant concern.
Instagram and TikTok have become widely popular among the mothers who proudly showcase the breastfeeding journey with nipple piercings. Although nipple piercing is not a sin, but breastfeeding with nipple piercing can harm your baby.
In the article, we will uncover some surprising truths that often remain unspoken.
How dangerous is nipple piercing?
According to the book Adolescent Medicine, nipple piercing generally requires 3 to 6 months of healing.

There is also a risk of infection, allergic reactions, transmission of HIV, Hepatitis C, Hepatitis B, keloid formation, and bleeding. It has several other risks as the healing time is very long, so maintaining good hygiene is the only solution to it.
Another aspect of getting a nipple piercing is to get it done by a reputable place or professional.
You should also ask every detail about nipple piercing which may be specific to your body like allergies, etc.
How dangerous is nipple piercing in pregnant women?
Now comes the most important question!
Pregnant Women are strictly advised to not go for nipple piercing.

The main reason behind this is their immune system, which naturally weakens during pregnancy. Furthermore, your body will not be able to cope with the pain. Furthermore, your immune system will not be able to fight the infection, caused due to the ornament and piercing.
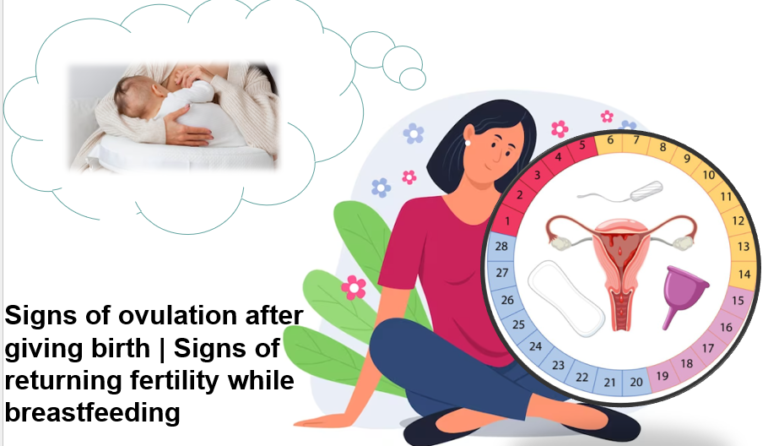
How dangerous is nipple piercing in pregnant women after delivery?
Even after the baby has been delivered, you cannot go for piercing for 2 to 3 years, or until and unless you are breastfeeding. There is no significant harm to your body, but your baby may find it difficult to latch. To know more about the whole process, click here.

We will request you to wait for a few years and then you can freely go for piercing without having a second thought in your mind.
Now, to the Pregnant women or the best-feeding moms out there, if you already have an old nipple piercing then it is not even a concern. There is no risk for you or your baby, but yes, make sure you clean the nipple area or remove the piercing before breastfeeding your baby to prevent choking.
How to clean nipple piercing?
A fresh nipple piercing is very prone to infection and that is why it is important to clean it properly and maintain proper hygiene.
A few of the things that you are supposed to do to clean your pierced nipples are listed down below:
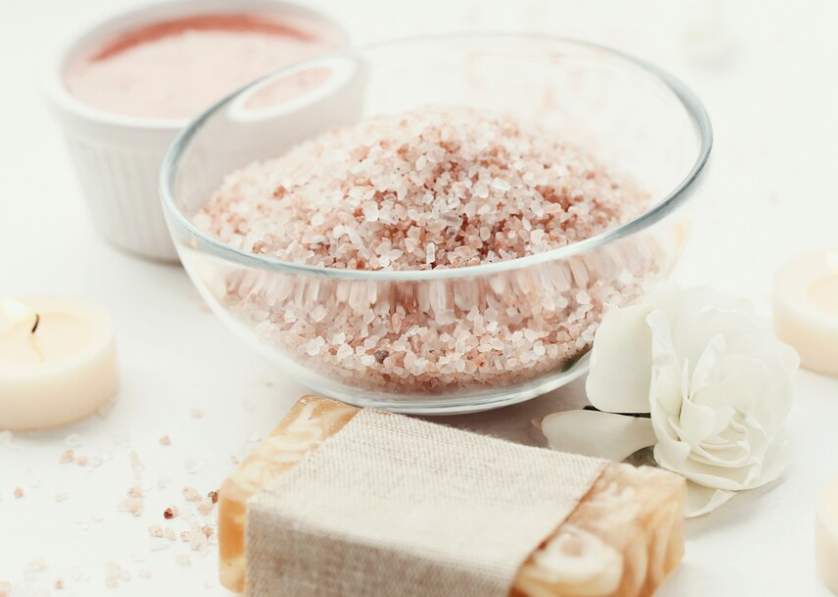
- With the help of lukewarm water, clean the area. You can also use a wet towel to perform this process. (You can also use non-iodized sea salt to clean the nipples)
- Wear loose-fitting clothes for a few months, to avoid building up of bacteria.
- Wear cotton clothes or padded bras to avoid any kind of friction while you are sleeping.
- Avoid going into pools.
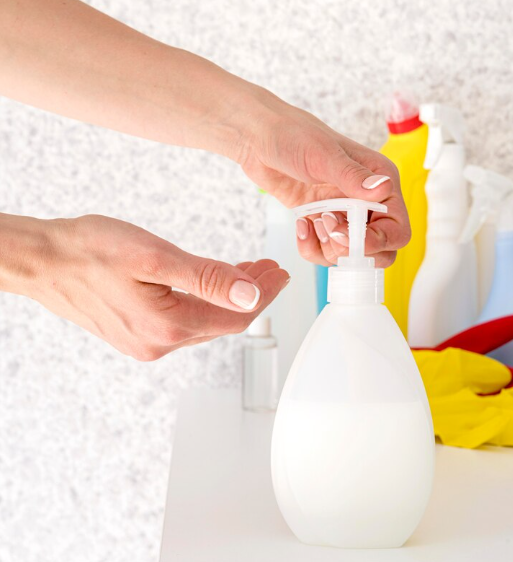
- Avoid using harsh soaps which include hydrogen peroxide, or alcohol.
- Don’t use any kinds of ointments, until and unless the doctor has not recommended it.
Note: If you are into medication or smoking, ask your clinician, to continue or not.
How to change nipple piercing
Every nipple piercing is different but we will discuss the most common one. Follow the below listed steps:
Step 1: Clean your hands properly with warm water.
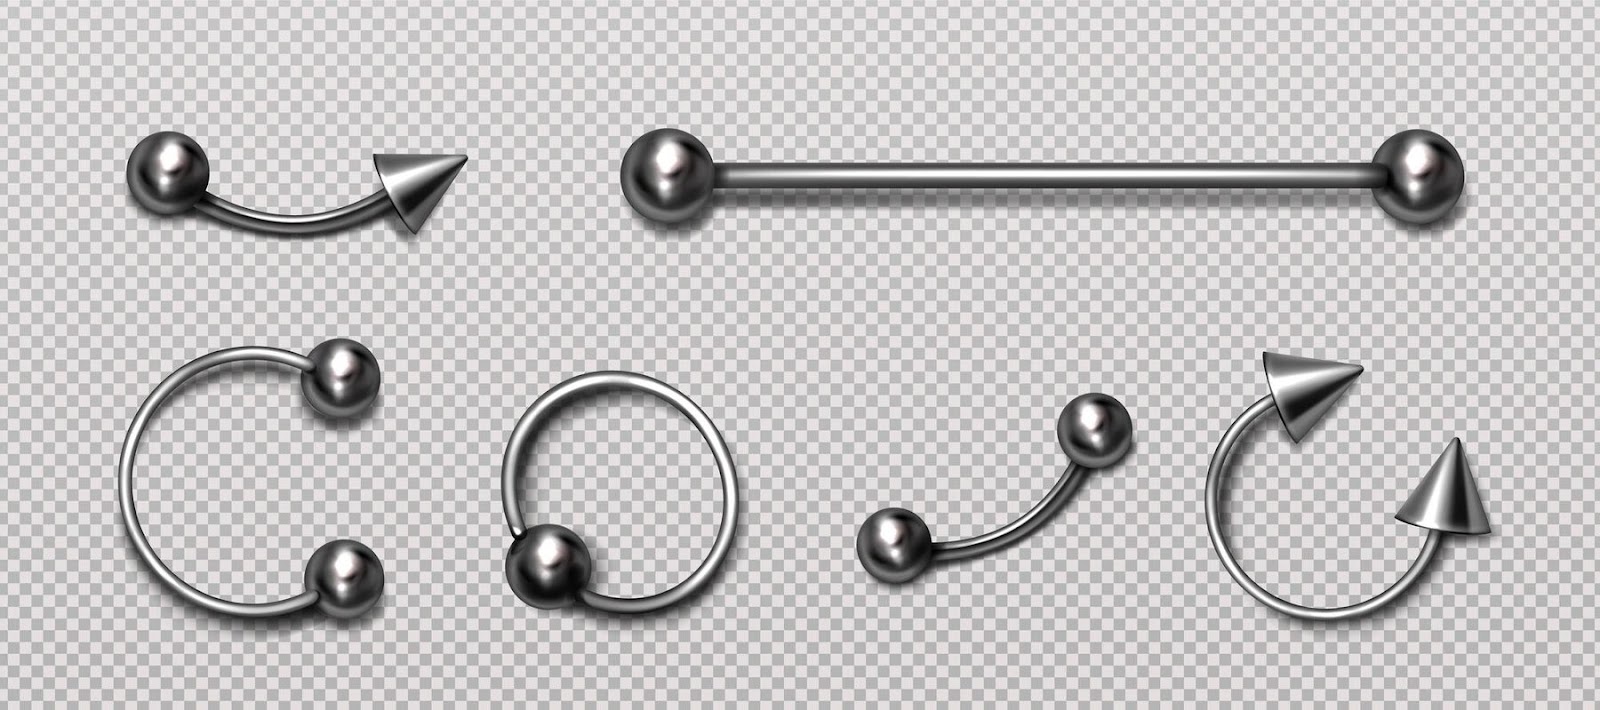
Step 2: Now unscrew the metal balls that are present at one side of your nipple piercing. (the process is very same as removing earrings)
Step 3: Now carefully pull the metal ball and then the bar. Refrain from exerting too much force.
How to insert nipple piercing?
If you are thinking of inserting the ornament by yourself then STOP.
We will recommend you to go for the professional one instead of doing it by yourself. Getting a nipple piercing by yourself can highly increase the chances of infection and other injuries.
How much is nipple piercing | How much are nipple piercing
Nipple piercing by a professional can cost you around $50 to $100, which also depends on the type of ornament.
How to make non-piercing nipple jewelry
Creating non-piercing nipple jewelry can be a fun and creative DIY project. Here’s a simple guide to help you:
Materials Needed:( It’s better to collect them all at once)
- Nipple Clamps
- Beads and Charms.
- Jump Rings
- Pliers
Follow the below-mentioned Steps:
- Select Nipple Clamps: Choose non-piercing nipple clamps with a comfortable grip. Make sure they are adjustable to suit your preference.
- Choose Beads and Charms: Select beads and charms that appeal to you. Ensure they are clean and have holes large enough for the jump rings.
- Arrange the Design: Lay out your design by arranging the beads and charms in the order you want them to appear on the nipple clamp.
- Open Jump Rings: Use the pliers to gently open the jump rings by twisting them sideways. Do this for each bead or charm.
- Attach Beads and Charms: Slide each bead or charm onto the opened jump rings and then attach them to the nipple clamp. Close the jump rings securely.
- Adjust Nipple Clamps: Ensure the nipple clamps are adjusted to a comfortable tightness. You can experiment with different levels of pressure to find what feels right for you.
- Test Comfort and Wear: Before wearing the jewelry for an extended period, ensure it feels comfortable and does not cause any irritation. Adjust as needed.
Remember to be cautious about the materials you use, ensuring they are body-safe and won’t cause allergies or irritation.
How to take out hoop nipple piercing
Removing a hoop requires care and attention to avoid causing any discomfort or injury. Here’s a step-by-step guide:
Step 1: Wash the area around the piercing with a saline solution or mild, fragrance-free soap to reduce the risk of infection.
Step 2: Put on Gloves to maintain cleanliness and provide a better grip on the jewelry.
Step 3: Locate the opening or gap in the hoop. Hoops typically have a small segment where the ends can be pulled apart.
Step 4: Hold the hoop with your fingers, placing one finger on each side of the opening.
Step 5: If the hoop is too tight or difficult to open with your fingers, you can use the sterilized jewelry pliers to gently grasp each side of the hoop near the opening. Apply gentle pressure to open the hoop slightly.
Step 5: Rotate the hoop slightly while pulling it outward. This helps the hoop move more smoothly through the piercing.
Step 6: Move slowly and steadily to avoid causing discomfort or injuring the piercing. If you encounter resistance or pain, stop and reassess.
Step 7: As you remove the hoop, be careful not to let it touch any surfaces. Place it on a clean, sanitized surface if you plan to reuse it.
Step 8: After removing the hoop, clean the nipple and the piercing area with a saline solution or mild soap to keep it free from bacteria.
How to care for irritated nipple piercing
If you have irritated nipple piercing, especially after getting a fresh one then, don’t worry, it is very common.
Make sure to maintain proper hygiene and wash the area with lukewarm water and a gentle soap. Use a wet towel if there is bleeding. Apart from this, you can also consult health care professionals.
How to soak nipple piercing
You can soak the nipple piercing in sea salt water for a few minutes. The cleaning process also depends on the type of ornament you are wearing. We will request you to avoid using harsh detergents or soaps to avoid contamination.
What hurts more tongue piercing or nipple piercing
Pain perception varies from person to person, so what may be more painful for one individual may not be the same for another. Additionally, pain tolerance, nerves, and personal experiences can influence how someone perceives the pain of a piercing.
Generally, tongue piercings are often considered to be less painful than some other piercings because the tongue has fewer nerve endings compared to areas like the ears or genitalia.
Caution:
This article is only for educational purposes. If you are facing latching difficulties then we will request you to consult your doctor.


+ There are no comments
Add yours